Monday, December 31, 2012

Time to get going

Well Christmas is past, and tomorrow is a new year. I went downstairs last night and figured out what I'm using for this high arched violin. Some big leaf for the back, nothing fancy, but I like the curled grain lines and have never carved big leaf before (have one glued up for the Plowden) and a even grained Sitka for the belly. The fittings will all be Yucatan rosewood. I have two other instruments started, but they stalled out last year, and I'm going to jump start building with this Guadagnini violin and I want to keep track of the time. The stock is big enough for a viola, but I have the plans fresh in my head, and a fingerboard roughed out (1 hour to saw, plane, and shape, 1 hour to smooth, undercut and polish, for that I just burnished it with my fingernails, worked pretty good.)


So I have 2 hours into it. I'd like to do 2-3 hours a day, and some on the weekend. The only way I'll do it is to just do it. Todays plan is to cut up stock off my turning square to make a tailpiece and the pegs and button (I always forget to turn it, because the head is different). Then it's just a matter of turning the pegs, and finishing the tailpiece to size. Once I get that stuff done (they're usually bought) I'll work on sawing and squaring up the neck block, cutting ribstock, jointing and gluing the back and belly up, and sawing out the mold.

Tuesday, December 18, 2012

Chips!

I've finally made some wood chips! I made some the other day when I was putting the taper on the pegs for the Titan the other day. I need to make another peg and a button to replace the geg I twisted and the button I forgot to make. So I decided when I do that I'll make up the pegs for this violin at the same time. Like I said before, I make all the fiitings, fingerboard too, out of the same chunk of wood. A 2" x 2" x 12" piece is big enough to do a violin. You need a piece slightly longer than a foot long to do a viola.


Before I make the pegs I have to rough out a fingerboard, and taipiece. The fingerboard is easy. Cut it out as a tapered rectangle, plane it square, round the top out, and put a scoop on the bottom. Minus the scoop, and with about 10 more minutes on the radius to get rid of flat spots and you have about an hour into it. The Yucatan rosewoood I'm using on this one made a fingerboard that right now, without the relief on the bottom, sounds a fifth higher than the ebony one next to it.

The plane blade is ground to a 42mm radius, and fits in the body that is under the fingerboard. I had to chisel out some more clearance for chips in the body. It works much better now. After I plane it with the long plane with the corrogated face underneath everything (my most useful plane, stays sharp and is rock solid, I made a chipbreaker for it that is 5.6mm thick), I run the radius plane on it to be sure the radius is right. When I get close, I just use the plane blade as a scraper, still sliding it on the long plane to keep it flat. If you use your plane this way, watch your fingers, you could slice them up. I've managed to avoid that, it's saws that get me.

I also cut out the pattern for the violin. I found a nice new "tool", spray adhesive. If you've ever tried to glue paper on to wood, you know how hard it is to get it smooth. The spray adhesive worked great. Glued on flat in seconds, and I started sawing right away. I saw it out leaving the line, and then file it until the line is all but gone. I've found it better to use my magnifying glasses on things like that. My progressives work great, but they just don't see up close like I used to. The magnifying visor works wonders. When I don't use them my work is no where's near the same quality.

So another 1/2 hour on planning, and finally an hour on the actual instrument.

Friday, December 14, 2012

New Project

I have a couple projects started. But then this year we've been working 6 and 7 days a week on my real job, and I've been writing my other blog http://kensdevotional.blogspot.com/ . I'm still writing the other blog, but I'm getting better at it, and will schedule my time to do that until no later than 11AM and then do violin stuff for the next 2-3 hours each day. I should be able to get something accomplished on violins that way.

The Guadagnini viola is further along, and the Plowden violin has hardly anything done. Everyone always asks how long it takes to make a violin, so I'm going to find out. First I'll get everything ready and see how long that takes. Truing up the wood, glueing, the form, the ribs, the neck block, linings, purfling, blocks, pegs, fingerboard, tailpiece, all that stuff. A lot of those things luthiers normally buy finished, or roughed in, but I like to have the fittings match, and make them up myself. Certainly not prudent from a cost prospective, but I think it looks cool.


I think even a 17th century maker would have contracted out some of that work, like the pegs, and maybe the fingerboard and tailpiece. A larger shop might have had apprentices that would make up the rib stock, square up stock, rough in the neck, and maybe even get the front and backs book matched and glued up. Having all the stuff ready makes it faster once you get everything ready to glue up.


I drew up a plan for a Guadagnini violin. Actually it's two violins. I want one small one (352mm) with a high arch (18.7), and one longer one (357) with a low arch (16). I drew up the plan to make it bigger on the belly than the top. That's what Guadagnini did, and I think it makes cool looking ribs. So I need a full pattern, one half front, and one half back, instead of a half pattern. I took it up to the office supply place and had it copied 100% and 101.5%. I'll glue them on to thin plywood and cut it out as my pattern. From that I can make up molds. I drill two holes on the centerline, somewhere in the upper and lower bouts, and then I use drill bits to positively locate the pattern, then I can mark the outline of the corners on each side when the blocks are on. Works great.


I'm wondering. What would be the differences in tone between them? I'm only going to build the small one for the test, so I won't know until one day I decide to build both, side by side. They have slightly different f holes (drawn up from two different Guadagnini instruments, the Maazel and the Lachmann Schwechter). The high arch one has shorter, more angled holes. The other is straighter and slightly longer. Both should give a stop at around 195mm. The high arch one comes out with about a 157 degree string angle with a 25mm projection. The low arch one can get around 158 degrees with 26.5 projection. I like doing the geometry stuff (yeah, I'm slightly crazy) but it's probably easier to just do it, and not worry about actual numbers. So the low one would have more bridge fulcrum, and possibly more power? Then again the high arch would be stronger, so maybe the rest can be "flimsier" so the sound "shimmers" off of it? I don't know. It's like a dome, or cone tweeter, which one is better?


Oh, time wise the drawing is maybe 2 hours. The thinking behind it maybe a few days. If I make sure I document everything though (neck set, arch height, saddle height, tailpeice length, tap tones, weights, thicknessing, everything), I won't have to go back over it again.

If.

Wednesday, December 28, 2011

Planning for next year

I've been thinking about what I want to make next year. Spent too long on this Strad this year. I have a Guadagnini viola back in cherry that looks promising, but I need some figured cherry to make ribs and a neck...at least the ribs. I just drew up and made molds for a Guadagnini and del Gesu violin. I have a del Gesu mold I made for the ole Bull, but the corners are farther out on it, so I made a slimmer one. The Guad and new del Gesu are almost the same in outline, but vastly different in arching heights. Guadangnini always seemed to use very fine grained, even spruce for the belly. Del Gesu used wood that had more "character". I have a mold and clamps and blocks for a Grancino viola that is nothing like the Guad. It has archings more like del Gesu and although it is 15mm longer, it is narrower than the Guad as well. Either paring would give me a challenge to get both instruments to sound good and I'd probably learn quite a bit. Then I saw a photo of a Guadagnini cello. Cute little thing. First cello outline I've actually liked. Drew it up the next week after analyzing it. Found that all three Guads I drew up are started the same way...with a triangle drawn on the lower bout centerline. Maybe a cello would be a real change of pace. I need to go to the wood store this weekend and check for cherry wood. Without that my options change. Do you think they'll have a 4 foot long chunk of figured maple big enough for a quartet? That would really be a challenge.
I'm starting another blog. This one is a devotional. Going to try to do it everyday, and still have time for violin making and life. It really kicks off January 1, but I have the first one on now. If anyone knows how to put an mp3 player on individual posts on blogger please tell me!
I've tried a couple and haven't been able to make them work. Of course I'm over 30. Would be good if I gave the link www.kensdevotional.blogspot.com

Sunday, October 23, 2011

Hello REAL color


It's been a month since I've posted? Crazy man. Time sure flies. Well I've put 2 more coats on the violin and looks like that may do it. I love the color. And it is more transparent than the Montagnana I made that is Venetian red (well he was from Venice!). Thank you Joe! If you're thinking of getting some violin varnish check him out first http://www.violinvarnish.com/. Speaking of varnish...I did cook some up today that I'm only going to use as a ground. I say that after recommending Joe? Well...I've had the stuff sitting there.....been cleaning things out....figured I'd cook some up and throw all the varnish junk away. The first part worked good. Poured more than half of it into a jar. Planned on thinning the rest out to use like thinned varnish.


Didn't work. The nice varnish turned into a gooey glob of gunk in turpentine. Should have just made it all thick. The varnish is very clear, like Joes. It's very thick, likes Joes. Dries in maybe a month, NOT LIKE Joes. His dries in one day of sunshine. Plus you can get Joe's in colors! I need to order the strings. Think I said that a month ago. And I still need to turn a button on the lathe. Besides putting the varnish on I have cleaned out a lot of junk out of my boxes downstairs. I want to get the stuff down so I only have one box of tools, one drawer of plans, and one cabinet of molds and patterns. Getting there. Now I can throw away the varnish paraphernalia.

Sunday, September 18, 2011

Trouble in Paradise


Should it surprise me. No. This violin has taken forever to do. I noticed it the other day when I got around to smoothing up the first coat of varnish after it dried. A crack. Never saw it before. Didn't appear to be much, but it was there. So I had to pop the belly off and put a couple studs under the crack. While pulling the top off I smelled pine....uncured varnish. A small bit got in an area on the bottom block, must not have been perfectly flat. So I ran a plane blade over the area on the block and the belly. Didn't seem bad. The crack doesn't go all the way through to the inside, except for the overhang area, and that is going to be cut away for the saddle.


I decided to put two studs on it. One right at the block and the other right near the end of the crack that shows on the outside, right at the end of the bass bar. I imagine both areas are high movement areas (relative to a violin) and better to be extra cautious. I'll glue the belly back on tomorrow. This time maybe I'll remember to put the pins in too, to fill the holes. Oh yeah, I have to make 'em, that's why they never got put in the first time! Where do you buy 3/32" dowel rod?

Sunday, September 11, 2011

Hello color


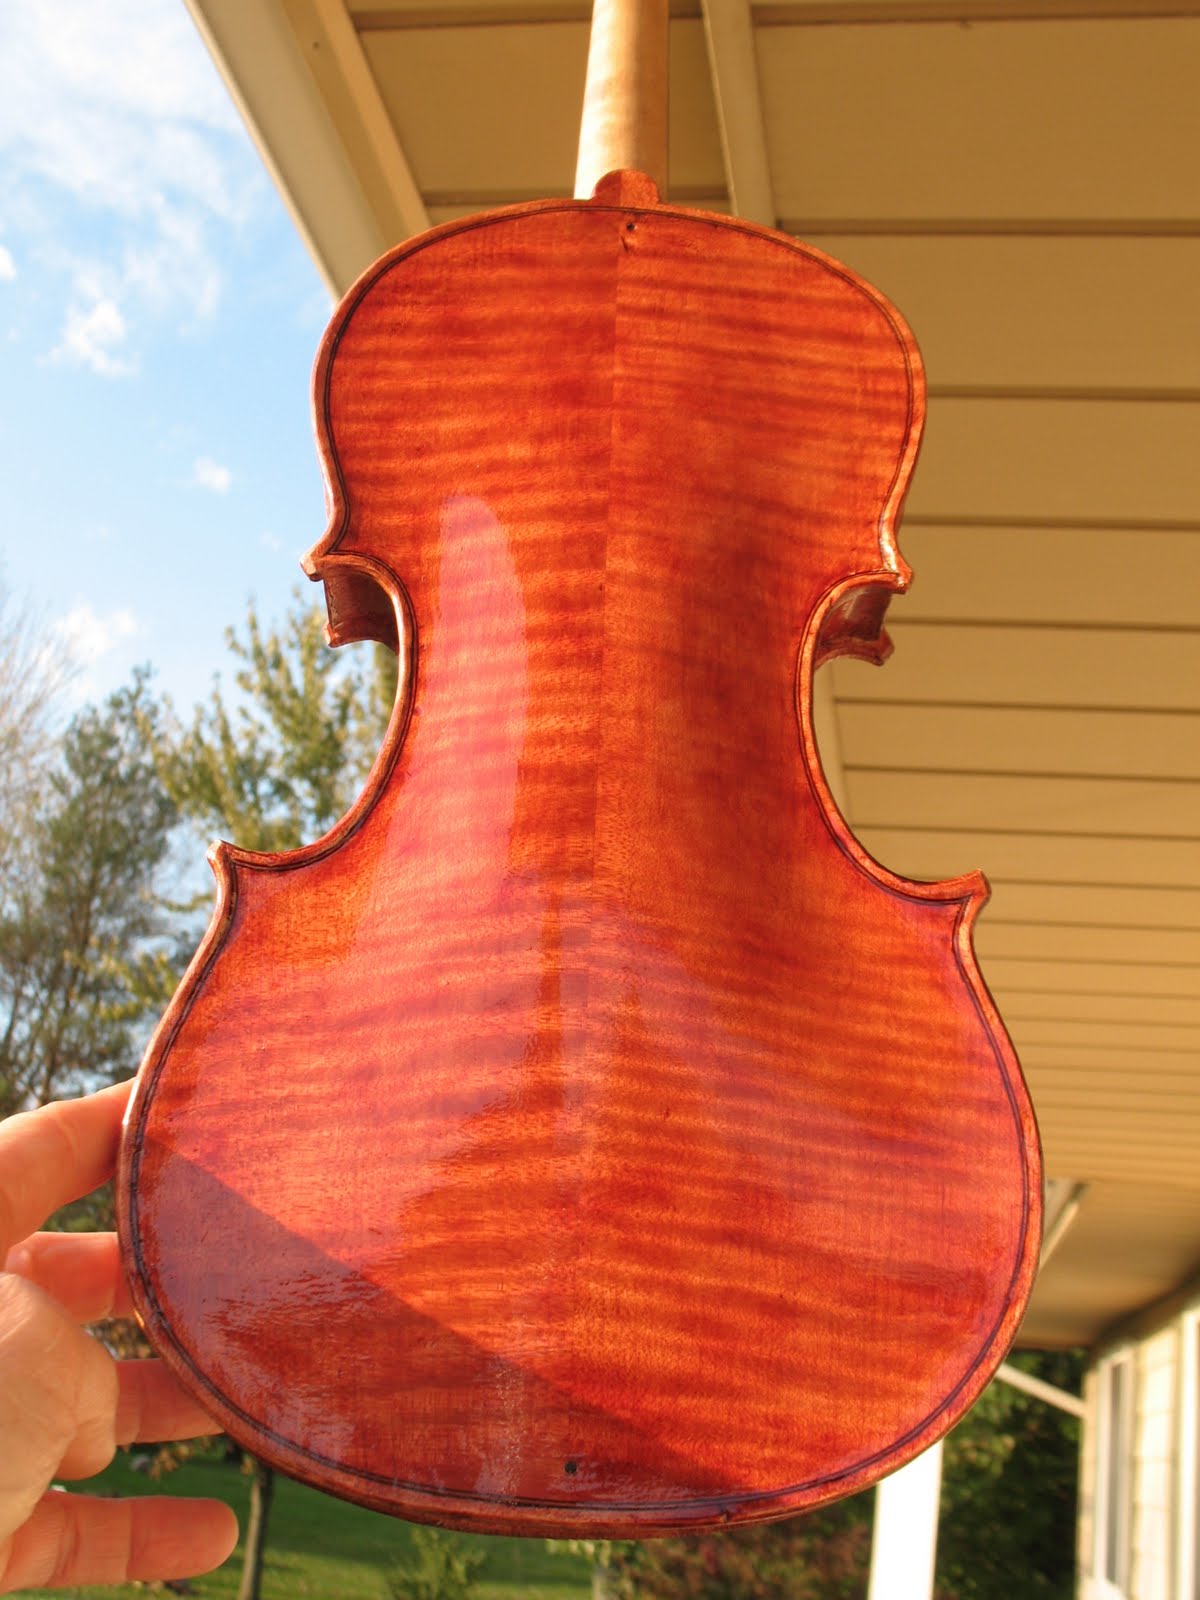
Did it again! Hit enter after putting my title in. OK, here's what's going on today. Varnish. Glued it up yesterday and this morning took one last shot of it before putting a light coat of Joe's Rose Greek Pitch varnish on.


I start with the scroll first. There is no way to hold it if you do the scroll last, and I like to get it out of the way because it is the hardest to do. Next on the hard to do list is the ribs. I do those next. My method for the whole process is to put a little varnish on a few places with a brush and blend it all in with my fingers, or palms. I did the back next and the belly last. I don't think it matters much at that point which side you do first. The varnish has a lot of color in it so the hardest thing is to get the coating even so it isn't blotchy. I don't see too many blotches. When I smooth it up after it is dry with some oil and tripoli (or pumice, I always forget which one is finer) I can smooth out any blotches I see then.


A few thin coats is what I'm aiming for. Nice color Joe! I think 3 coats will look real nice. It's been out on the porch all day, mostly cloudy though (been that way or raining for more than a week), but the varnish mostly not tacky already.


My homemade varnish took forever to dry. Well, weeks anyway. Oh, by the way I forgot to publish the post before this one! Please check it out.